
Profiles
In the Profiles section, a list of all available profiles is displayed. Profiles can be created by users via the Add Profile button available on the page.

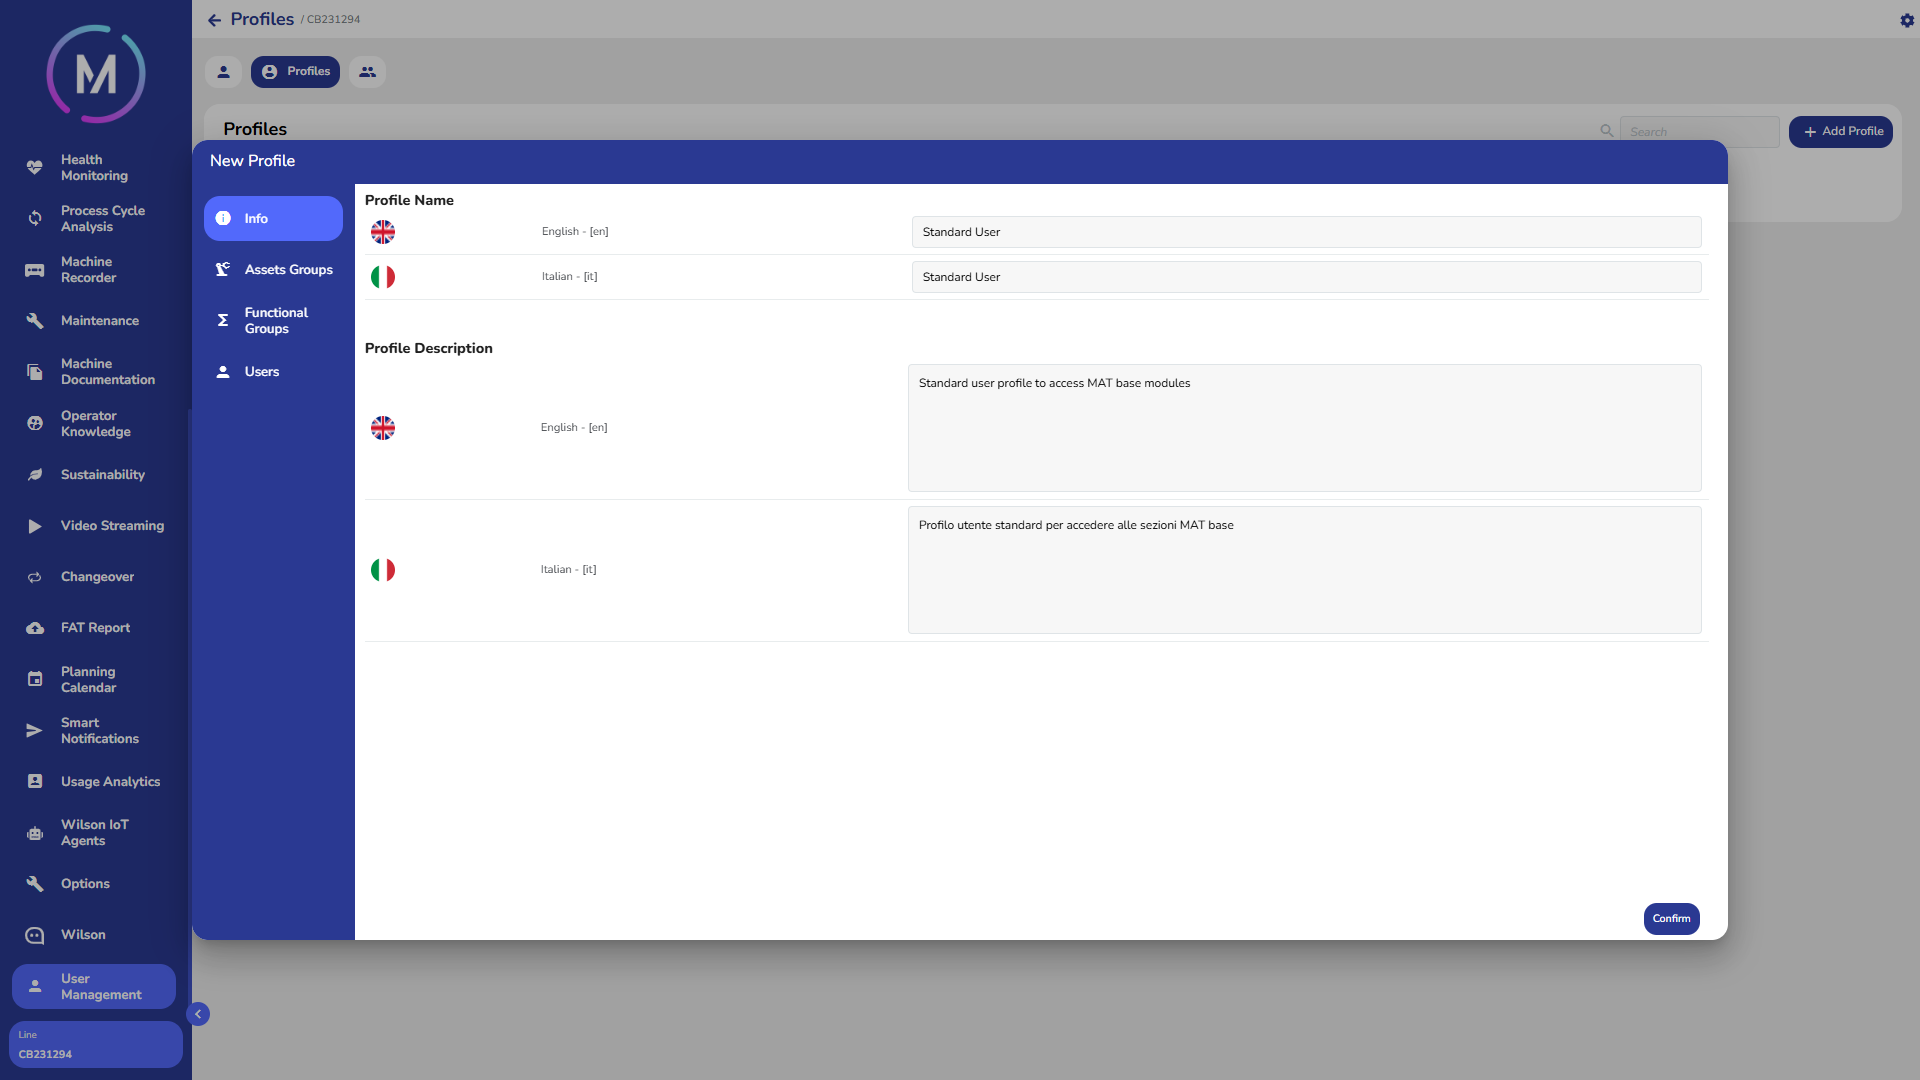
By selecting the Add Profile button, a pop-up window will open where the profile can be configured. In particular, it is possible to:
define a name and description for the profile (Info tab);
specify the asset permission groups to be associated with the profile (Asset Groups tab);
select the groups that will be part of the profile (Functional Groups tab);
associate, if desired, existing users with the profile during its creation (Users tab).
Once the creation is confirmed, the profile will be added to the list in the section. All profiles can later be modified via the Edit Profile button: the window that opens will allow updating the name, description, associated groups, and users linked to the profile.
Info Tab
When creating a new profile, it is necessary to specify its name and description, both in Italian and in English. The profile name will be used as an identifier, so it is recommended to choose a clear and descriptive one.
Asset Groups Tab
The Asset Groups tab allows viewing the asset groups associated with the profile. For more information regarding asset groups and how to create them, refer to the dedicated guide.

By selecting the Edit Groups button, a pop-up window will open showing on the left all the asset groups available for the project and on the right those you want to add to the profile. By selecting a group from the left column, it will appear on the right. Note that it is also possible to deselect items.

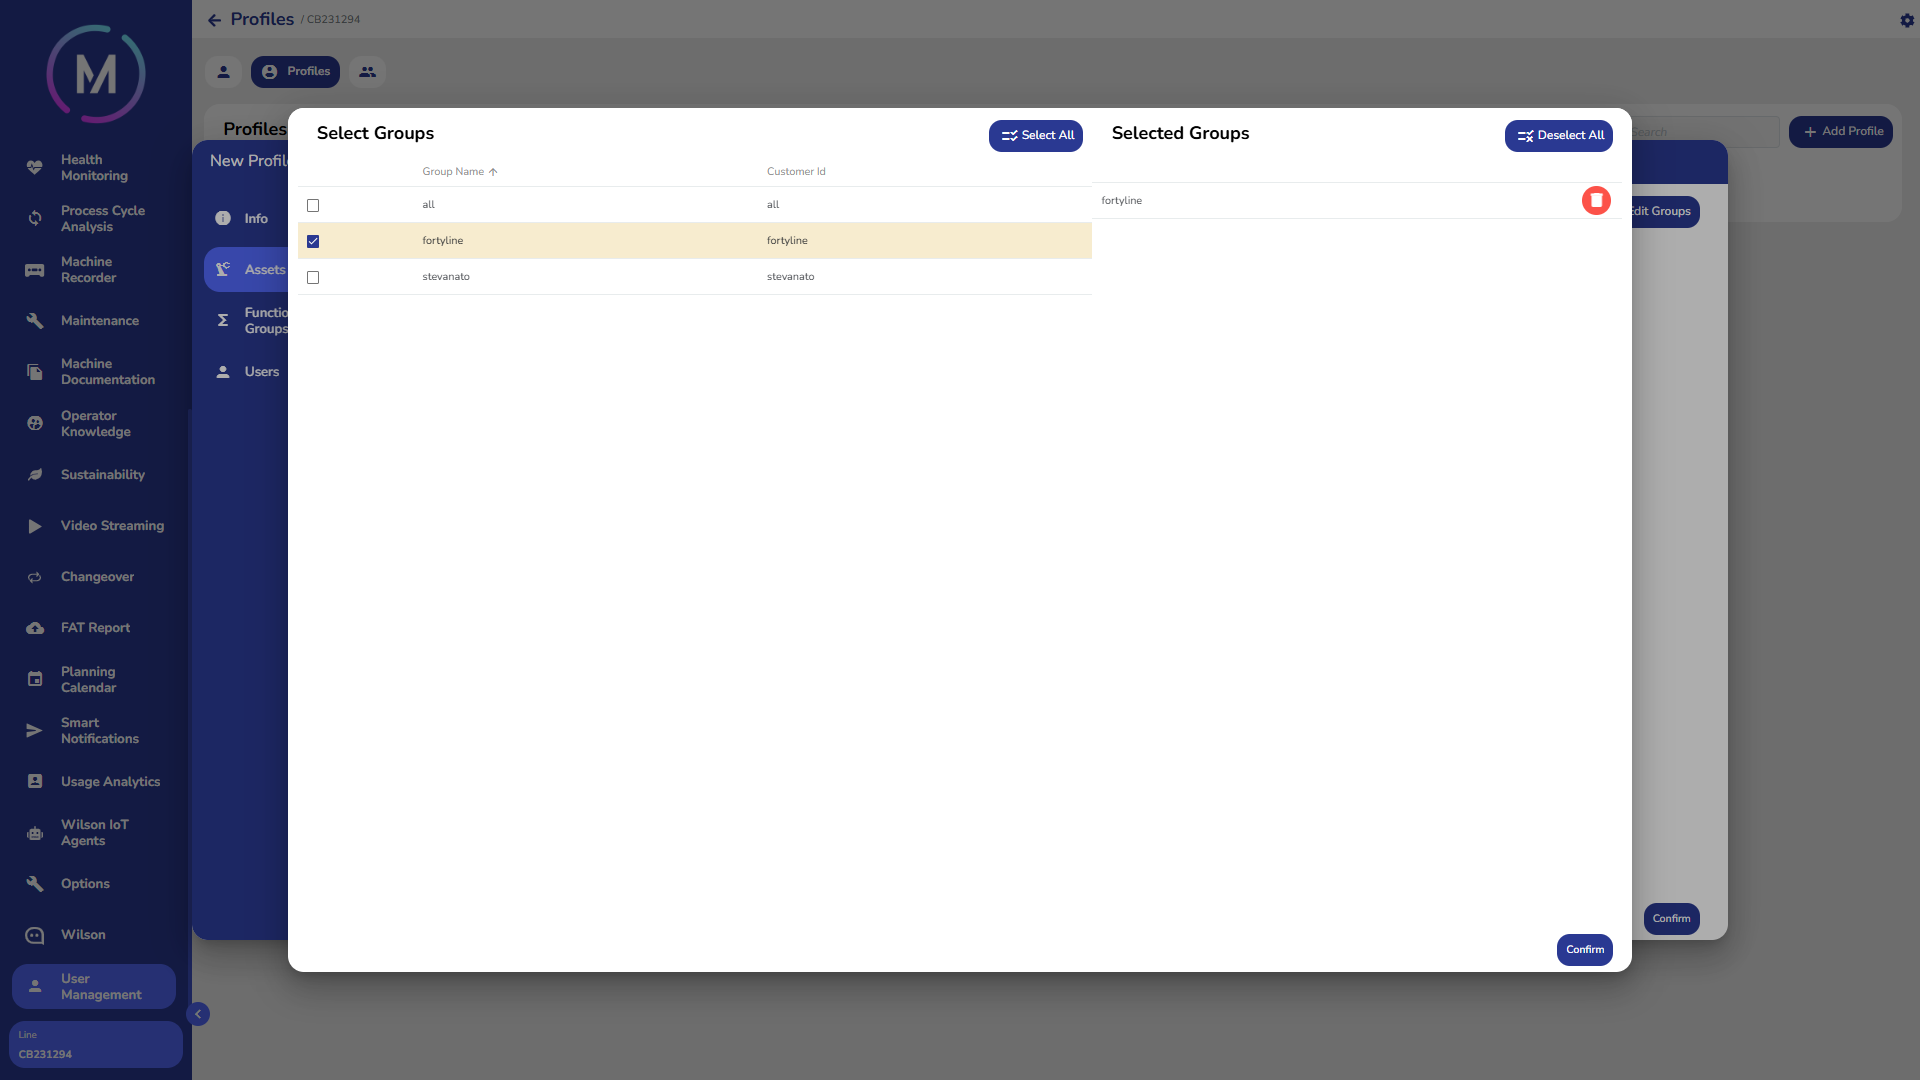
Once confirmed, the groups in the right column will be added to the profile.

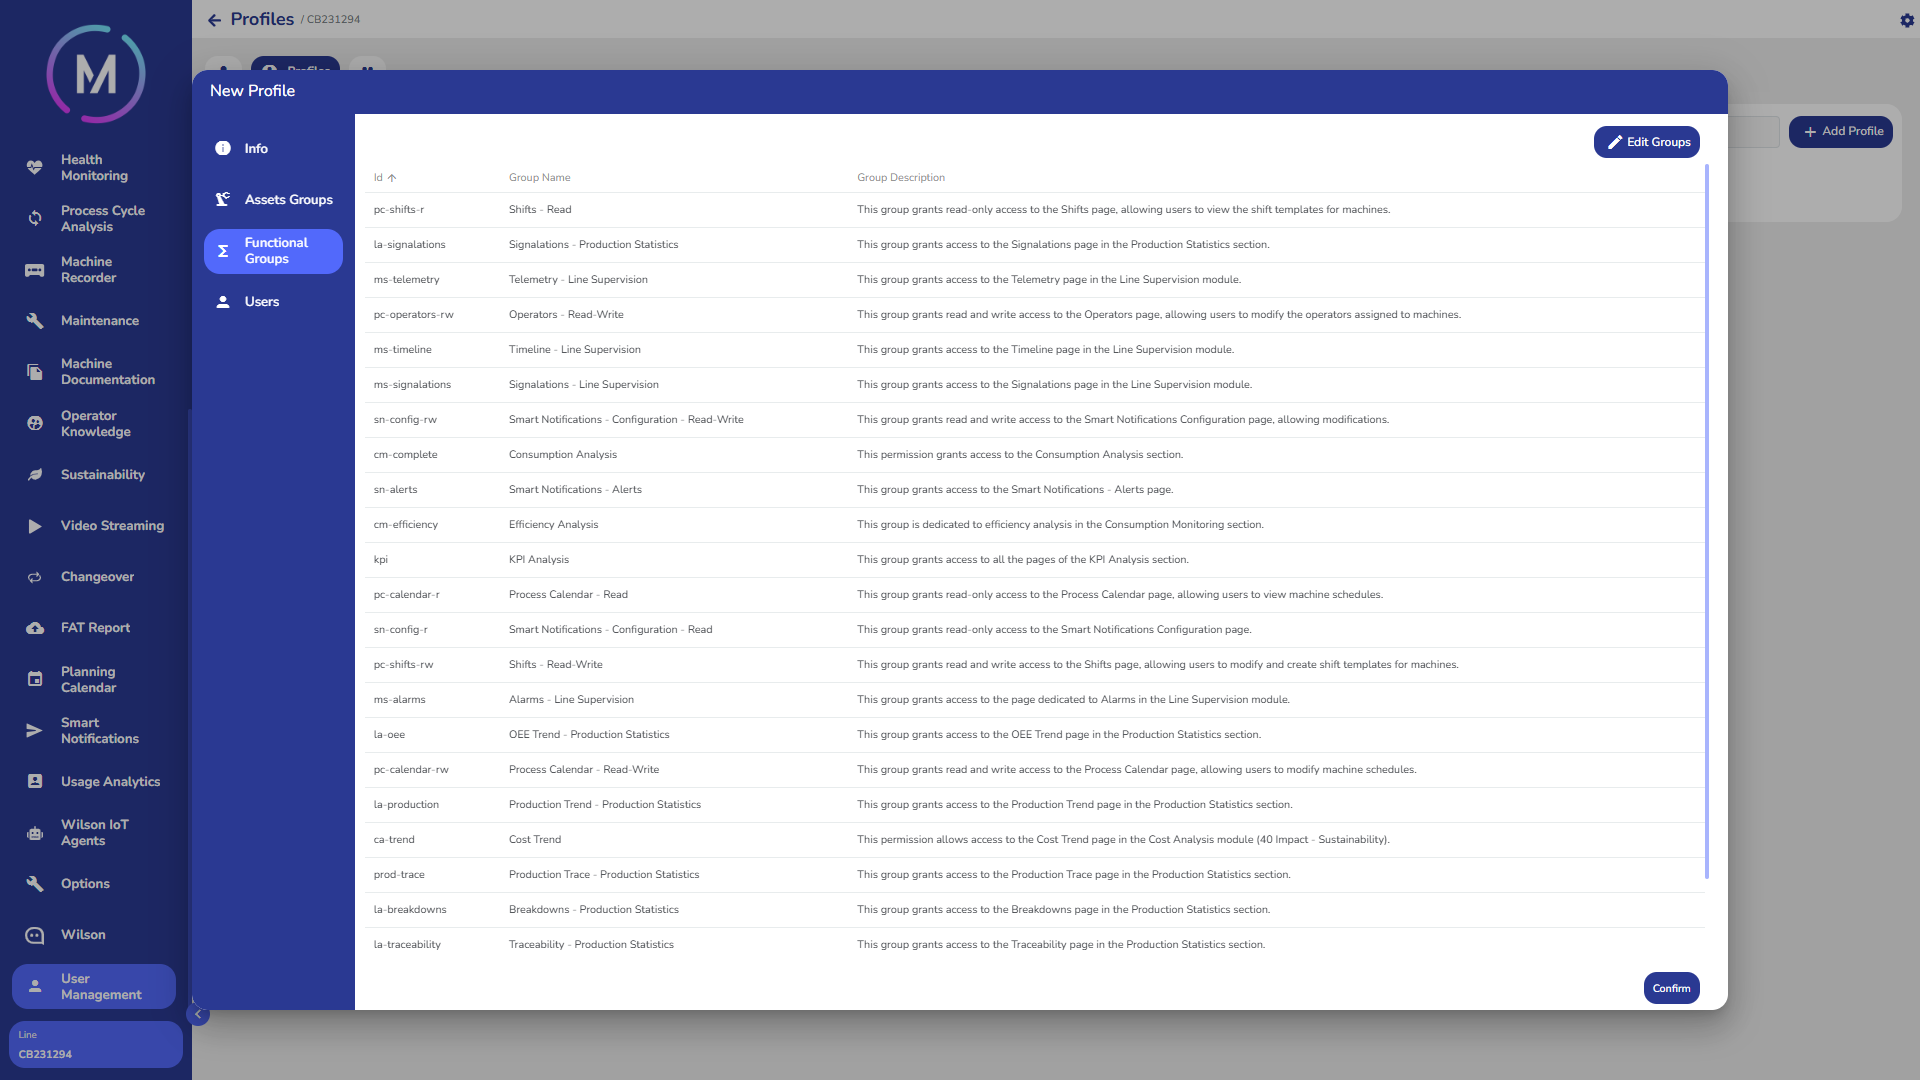
Functional Groups Tab
In this tab, you can view and modify which functional groups will belong to the profile. A functional group allows the user to access a specific section of the application. The list of available groups and their meaning can be found in the guide.
When configuring a new profile, the tab will initially appear empty. The Edit Groups button allows you to add groups to the profile.

By selecting the button, a pop-up window will open containing two columns: on the left, the list of functional groups available for the MAT application, and on the right, the groups currently associated with the profile. By selecting a group from the list on the left, it will be displayed on the right among the groups to be associated with the profile. Note that it is also possible to deselect items.


Once the list is confirmed, the associated groups will be displayed in the main window.
Users Tab
Although user association can also be done later directly from the user's profile page, it can be useful to assign them during the profile creation process to complete the initial setup in one step.
During the profile creation phase, the page will appear empty.

By selecting the Edit Users button, a pop-up window will open, divided into two columns: on the left, all users configured for the project will be listed, while on the right, the users belonging to the profile will be shown. By selecting users from the left column, they will be moved to the right column to be subsequently added to the profile. Note that it is also possible to deselect items.


Once confirmed, the users in the right column will be added to the profile.
