
Groups Management
The Group Management section is divided into two separate tabs.
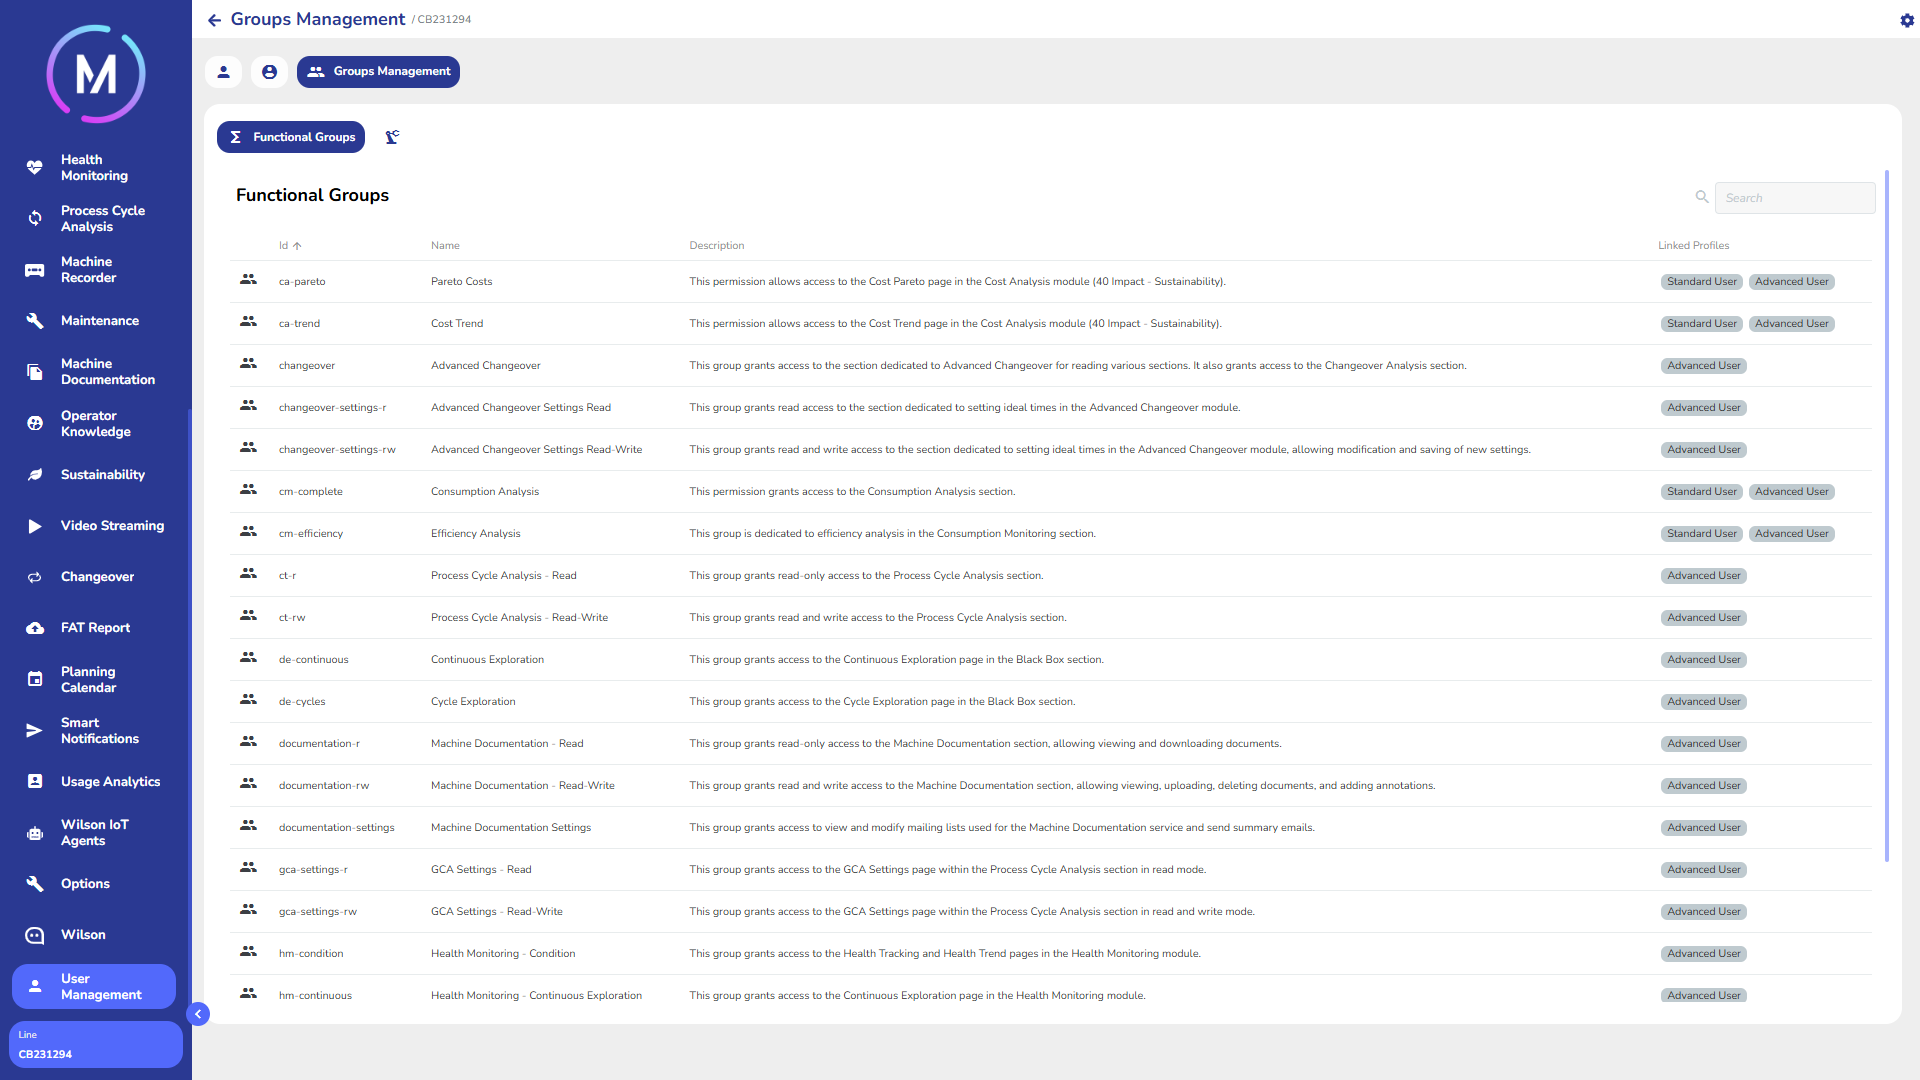
The first tab, Groups, lists all the functional groups required for the proper functioning of the MAT application and for displaying its pages. These groups cannot be modified, as they are strictly tied to the application. For each group, certain information is shown, such as ID, descriptive name, description, and the profiles in which the group is included. For more information on asset groups, refer to the dedicated documentation.
The second tab, Asset Groups, contains the list of asset groups, which are related to asset viewing permissions. For each group, the corresponding Customer ID and the profiles to which the group is assigned are indicated. For more details about asset groups, refer to the dedicated documentation.

In the Asset Groups tab, there is an Add Group button, which allows the creation of a new group for managing asset permissions. In the pop-up window that opens, several actions can be performed:
configure the group name so it applies to the desired assets (Info tab);
add the group to existing profiles (Profiles tab);
add users to the group being created (Users tab).
By confirming the creation, the group will be created and assigned to the selected profiles and users.
Finally, also within this tab, each group has a delete option available: the group will be removed from any profiles and users it was associated with.
Info Tab
Creating an asset group follows an iterative logic: typically, the group name is generated with the structure oapp-customer-{customerId}, where {customerId} is replaced with the actual machine identifier. However, depending on the project configuration, the name structure may be more complex. For further details on proper permission configuration, refer to the specific documentation.
In this tab, the asset group name can be configured to ensure access to the desired assets. A series of checkboxes and dropdown menus allow for customization.

Profiles Tab
This tab allows adding the group being created to existing profiles. The Edit Profiles button opens a pop-up window consisting of two columns: on the left, all existing profiles; on the right, those already associated with the group. Selecting a profile from the left adds it to the group and moves it to the right. Once confirmed, the window will display the list of profiles the group belongs to.


Users Tab
During the creation of an asset group, it is possible to associate users with it. To do this, use the Edit Users button: a pop-up window will open with two separate columns listing existing users and those associated with the project. After selecting the users of interest, you can confirm the selection to see them listed among those assigned to the group.

